A balcony can look flawless from the doorway and still be failing from the inside. That single gap — between what the surface shows and what the wood is actually doing — is the reason California now requires periodic structural checks, and it is why a thorough balcony inspection checklist has become one of the most valuable tools a property owner can keep close.
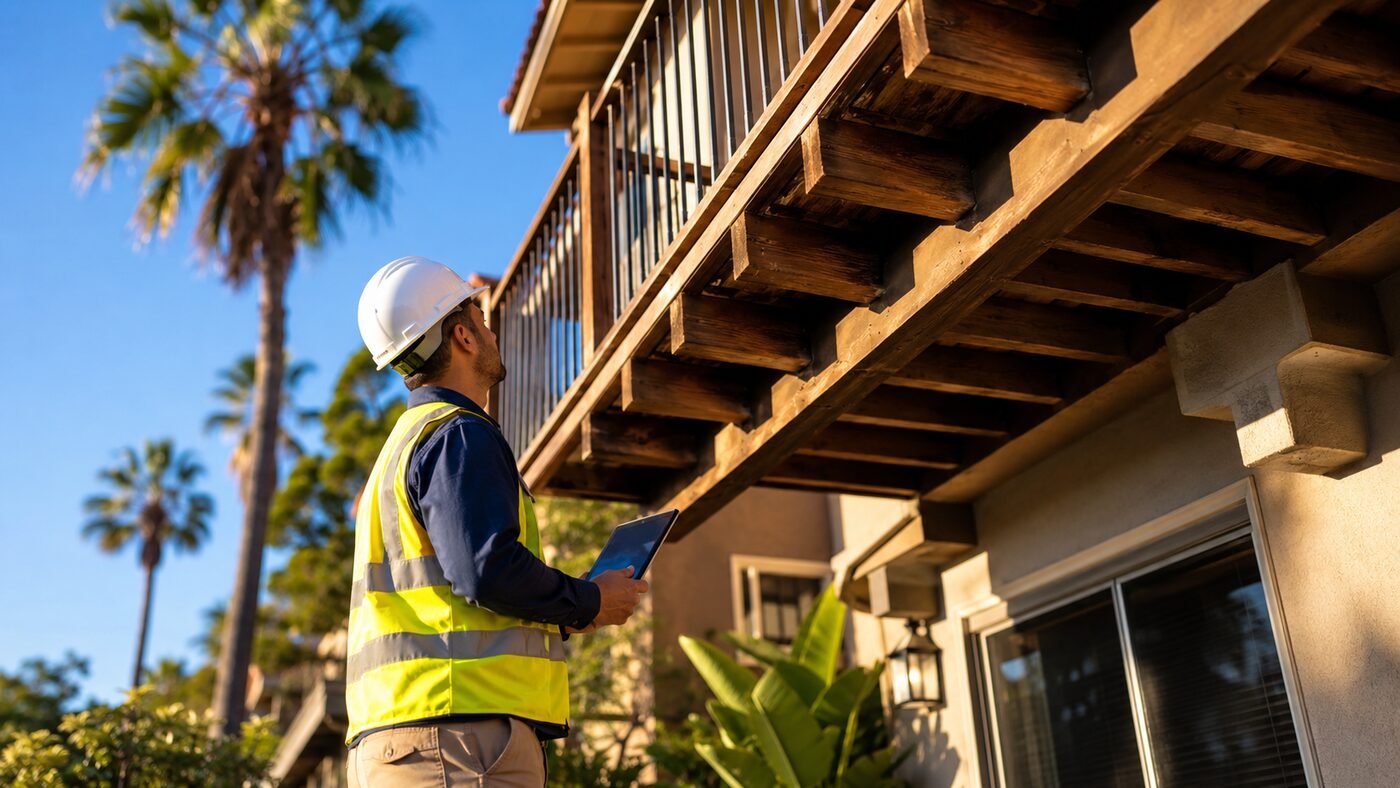
This guide is built to be the one resource you actually need. It walks through what a professional looks for element by element, what the law expects, which warning signs deserve attention between formal checks, and how the whole process unfolds from scheduling to the final report. Wherever it helps, we have leaned on the field experience behind ABD Inspections, a Sacramento firm with more than a thousand completed assessments across California — because the pattern almost never changes: the balconies that fail are rarely the ones that looked bad. They are the ones nobody checked.
Why Balcony Inspections Became Law in California
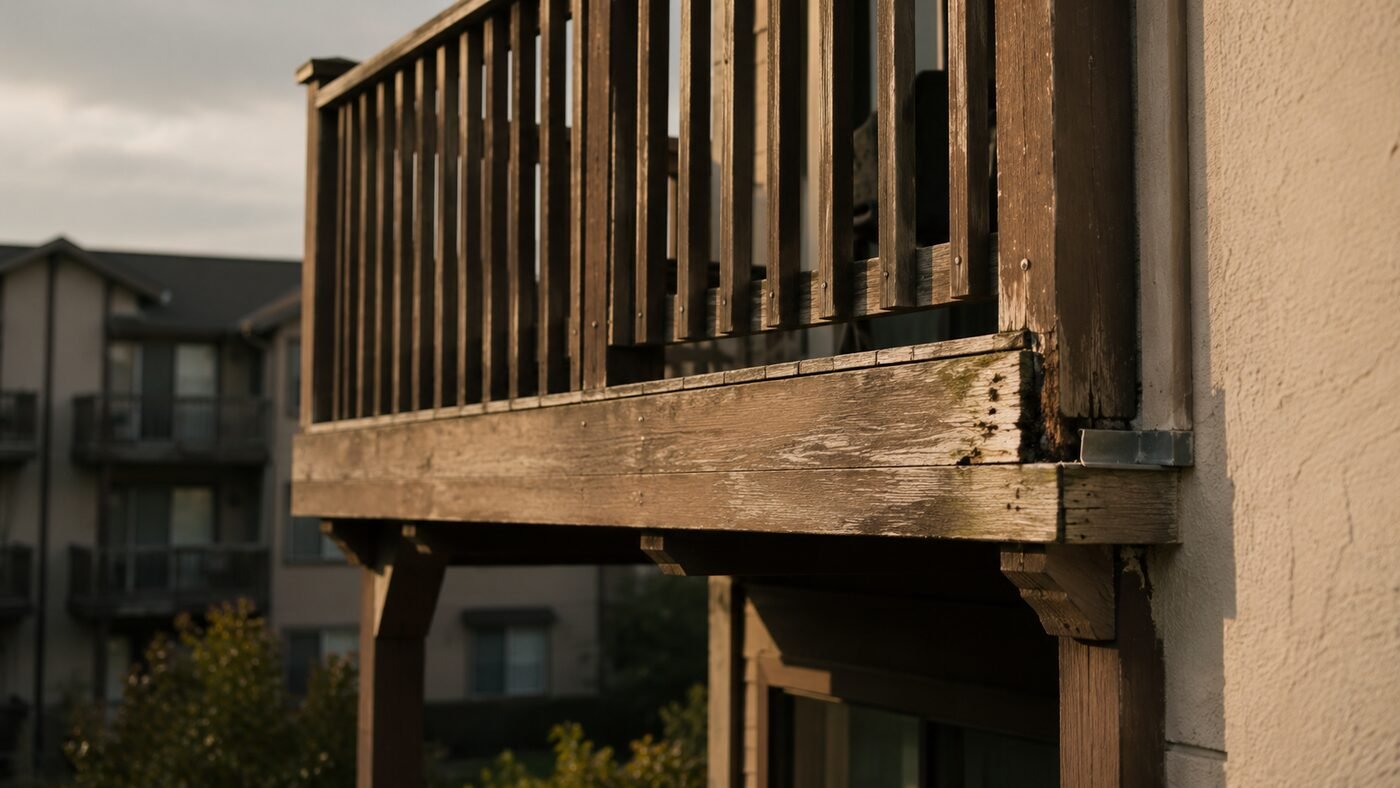
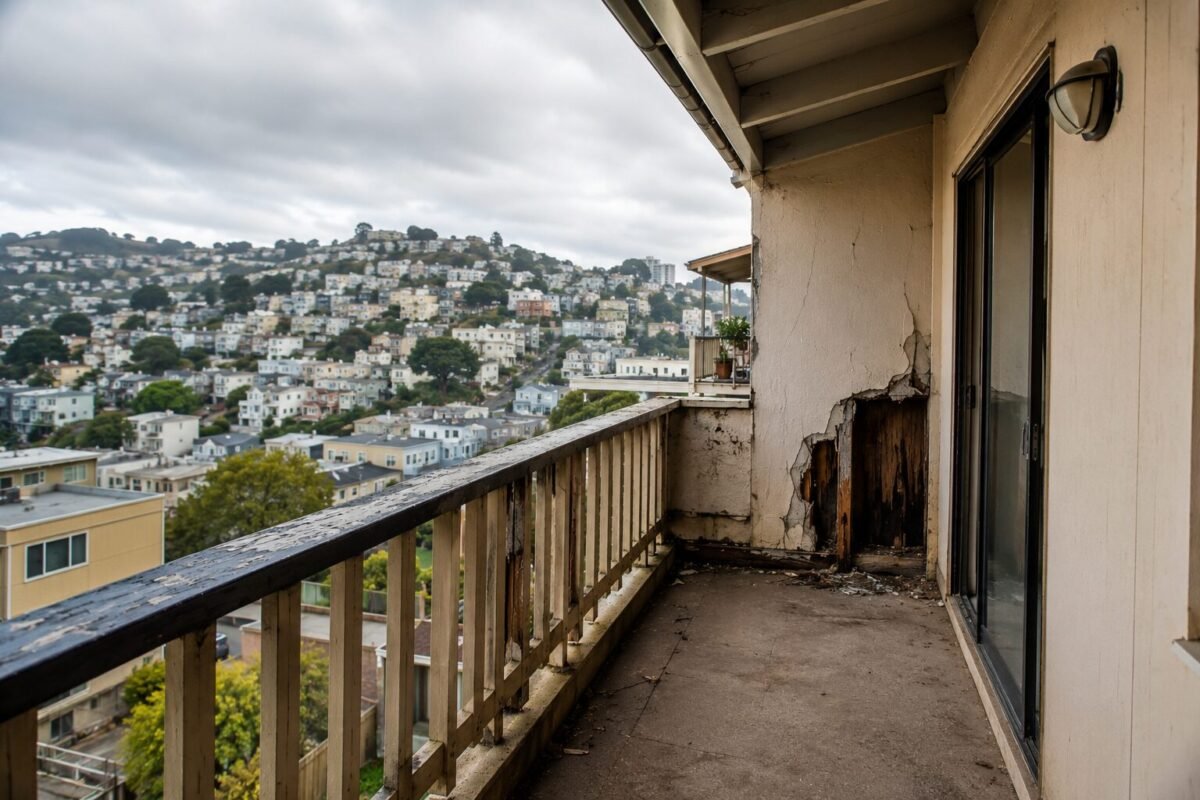
The turning point was June 16, 2015. A fourth-floor balcony at the Library Gardens complex in Berkeley collapsed during a birthday party, killing six people and injuring seven. Investigators traced it to dry rot — the wood framing behind the waterproofing had quietly decayed while the surface looked perfectly ordinary. Nothing on the outside gave a warning. The Contractors State License Board later concluded the failure came down to moisture reaching wood that should have been protected.
California answered with two laws. SB 721 balcony inspection rules, written into Health & Safety Code §17973, cover apartment buildings and rental properties with three or more units. A companion law, SB 326 (Civil Code §5551), covers condominiums governed by a homeowners association. San Francisco layers a third, stricter ordinance — SF Section 604 — on top of the state rules. The single most common mistake owners make is applying the wrong one, so before anything else, it helps to know exactly which track your building is on.
Which Law Applies to Your Building
The deciding factor is not the shape of the building or how tall it is — it is the form of ownership. A quick comparison clears up most of the confusion, and it also explains why the balcony inspection requirements California enforces feel so different depending on who you are.
|
Feature |
SB 721 |
SB 326 |
SF Section 604 |
|
Applies to |
Apartments / rentals, 3+ units |
Condos & HOAs |
San Francisco buildings (apartments 3+, condos 3+, hotels 6+ rooms) |
|
Code |
Health & Safety Code §17973 |
Civil Code §5551 |
SF local ordinance (2003) |
|
First deadline |
Jan 1, 2026 (extended by AB 2579) — passed |
Jan 1, 2025 (not extended) — passed |
April 1, 2022 — passed |
|
Re-inspection cycle |
Every 6 years |
Every 9 years |
Every 5 years |
|
Sample size |
At least 15% of each element type |
Statistically significant sample |
100% of elements |
|
Who may inspect |
Architect, civil/structural engineer, qualified contractor, or certified building inspector |
Only a licensed architect or structural engineer |
GC, architect, engineer, or structural pest control |
|
Covers |
Wood-supported elements |
Wood-supported elements |
Wood and metal, including fire escapes |
If you own apartments, an apartment balcony inspection follows SB 721 inspection rules. If you sit on an HOA board, the SB 326 inspection track is yours — and note that a condo stays under SB 326 even when individual units are rented out. Buildings inside San Francisco almost always carry an additional obligation under SF Section 604, which is broader than either state law and does not exempt you just because you met the statewide requirement.
What Counts as an Exterior Elevated Element
Both state laws center on the same category of structure, so every exterior elevated element inspection starts with one question: what actually qualifies as an EEE? Knowing what qualifies keeps you from either missing a required component or worrying about one that is exempt.
An element falls under the rules when it meets three conditions at once. It extends beyond the building’s exterior wall; it sits more than six feet above the ground below; and it relies substantially on wood or wood-based products for structural support. That definition sweeps in balconies, decks, porches, landings, stairways, and walkways designed for people to stand or walk on — the full set the balcony inspection requirements California enforces are meant to cover. A purely concrete or steel structure can be exempt — but many balconies that look like solid concrete actually hide a wood-framed substructure underneath, so the construction should be confirmed before anyone assumes an exemption.
The Complete Balcony Inspection Checklist
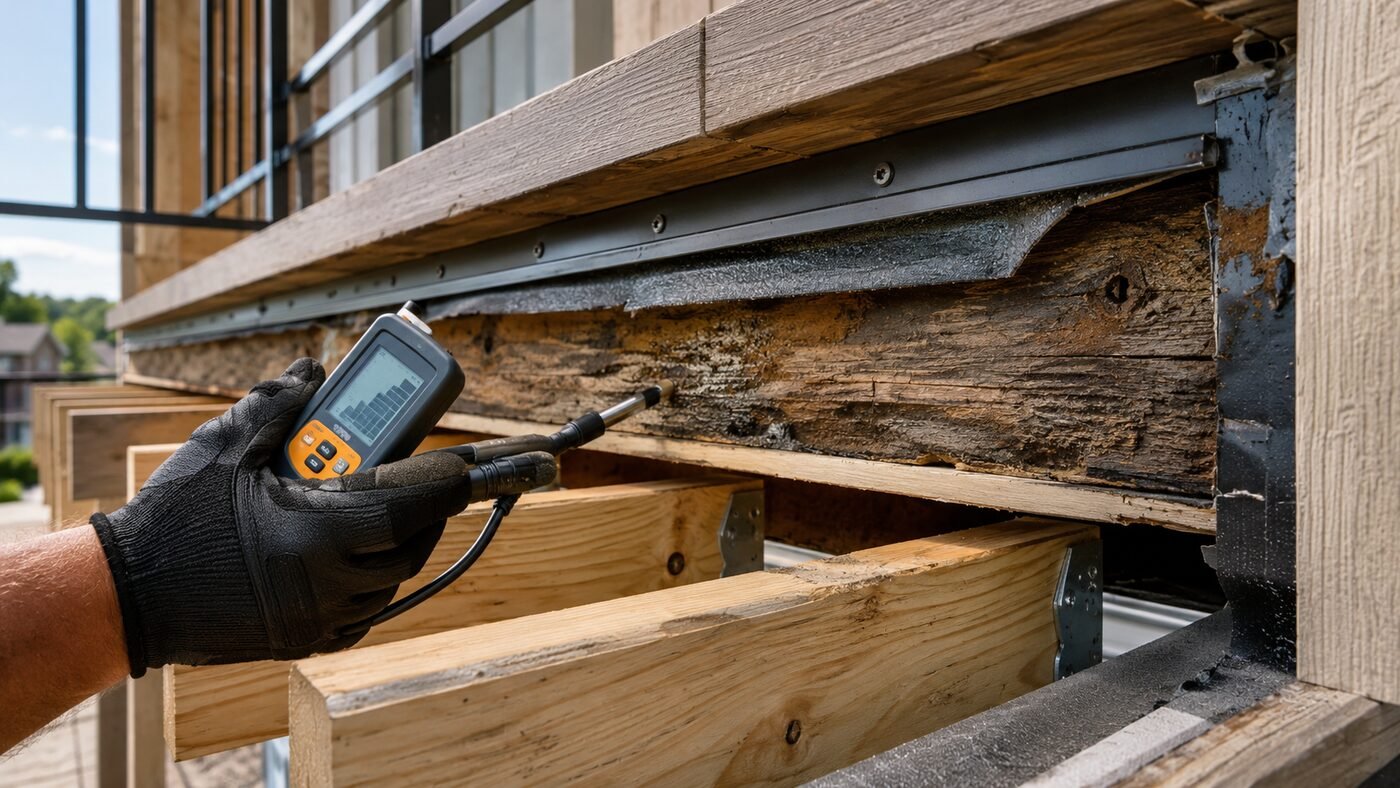
People often ask for a manual for the inspection of residential wood decks and balconies, expecting a thick binder of engineering tables. The reality is more approachable. A good balcony safety inspection checklist organizes the work into a handful of connected systems, and the same logic drives any solid a manual for the inspection of residential decks and balconies you might come across. What follows is the full sequence a qualified inspector moves through during a residential balcony inspection — and a preview of exactly how to inspect a balcony the way the professionals do.
1. Setting the Baseline
Before touching a single board, a thorough inspector writes down the context, because the same defect means different things on a five-year-old building and a forty-year-old one. This groundwork also makes the balcony inspection report something the next inspector, six years on, can actually measure against.
- Age and construction era tell the inspector which failure patterns to expect — buildings from the 1980s, for instance, are notorious for rot hiding behind sound-looking paint.
- Orientation to the sun matters because a west-facing deck bakes and cracks faster than a shaded one, so exposure guides where to look hardest.
- An inventory of every elevated element — each balcony, deck, walkway, stairway, and landing — sets the scope, since the 15% sample means nothing without a full count to sample from.
2. The Load-Bearing Skeleton
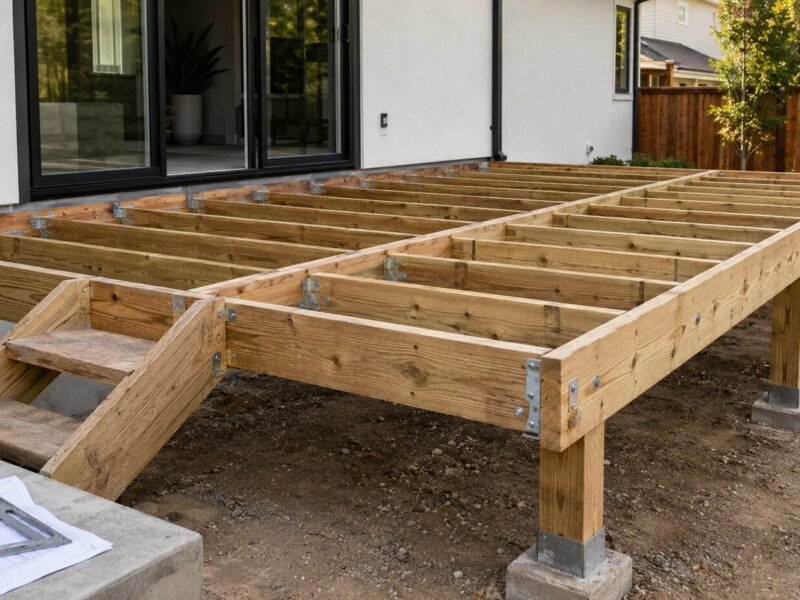
This is the heart of any balcony structural inspection. The inspector evaluates the framing, ledger board, support posts, beams, joists, and connectors — the pieces that actually hold the load. They look for visible cracks, sagging, excessive wobble, missing or loose hardware, corroded fasteners, and decaying wood.
Soft, spongy timber is the clearest red flag a balcony dry rot inspection can turn up, and dry rot remains the single leading cause of balcony failure in California. Because the damage hides beneath the surface, a probe, moisture reading, or gentle tap often reveals what the eye cannot. The ledger board — where the deck attaches to the building — deserves special attention in any wood balcony inspection, since a failure there drops the entire structure.
3. The Surface You Walk On
The walking surface takes daily abuse and shows problems early. Inspectors check for cracked or loose tiles and boards, splintering, uneven or sunken areas that create trip hazards, and any give underfoot that hints at weakness in the floor structure below.
Stairways get the same scrutiny. Treads and risers should be consistent in height, firmly fastened, and free of damage — an inconsistent step is both a code issue and a fall risk. Every walking surface, from a small balcony to a shared catwalk, is judged on whether it stays stable and safe under real use.
4. The Water Defense Layer
Most of what goes wrong on a balcony traces back to water reaching wood it should never touch. That makes the waterproofing system — membranes, coatings, flashing, caulking, and drainage — arguably the most important part of the whole check. The transition where the deck meets the building wall is the single most vulnerable point; flashing that is missing, poorly installed, or worn out lets water wick behind the cladding and into the framing.
Inspectors evaluate the condition of the waterproof coating, verify that flashing and caulking are placed correctly, and confirm that drainage actually moves water off the surface. They hunt for gaps and cracks between the wall and the deck, rust and corrosion, deteriorating wood, and any of the quiet signs — staining, bubbling, failed seams — that point to a leak already underway.
5. Railings and What Holds Them
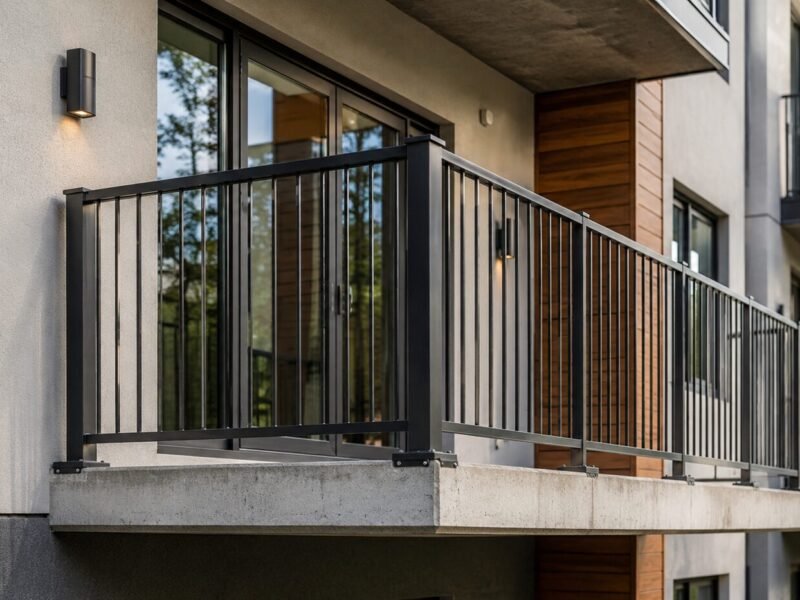
When a guardrail lets go, the consequences are immediate, and a large share of the injuries that pushed these laws forward traced back to railings rather than to the deck itself. A wood balcony inspection judges railings on the same terms as a metal one, and the building code turns those judgments into measurable checks rather than opinions.
Two of those checks concern the gaps. A child’s head is the reference point behind the spacing rule, so the vertical pickets have to sit tightly enough that nothing four inches across could slip through, and the wedge-shaped opening formed where a stair meets its rail is held to a slightly looser six-inch limit. Height is the next measure: a rail guarding a home has to stand thirty-six inches under the IRC, while a commercial setting pushes that to forty-two inches under the IBC. Beyond the tape measure, the inspector leans, pushes, and shakes — a rail that flexes, loosens, or shifts under honest pressure fails regardless of how it measures. Any glass infill is checked for cracks, and the outdoor outlets and light fixtures attached to the balcony round out the review.
Working through the railings closes the hands-on portion of the assessment. With structure, surfaces, waterproofing, and guardrails all behind them, the inspector now holds a complete read on what the balcony is really doing.
Tools a Professional Actually Uses
A careful assessment relies mostly on trained eyes and hands, but a few instruments extend that reach into places sight alone cannot go — the reason a professional balcony safety inspection checklist goes beyond what an owner can see. Knowing they exist helps owners understand how to inspect a balcony thoroughly — and why a professional check is worth more than a quick glance.
A moisture meter measures dampness inside materials that look dry on the outside. A borescope slips through a small opening to show hidden framing without tearing anything apart. A thermal camera flags temperature differences that betray trapped water behind a wall. When the visual review suggests concealed damage, an inspector may make small exploratory openings to see the framing directly — a normal step, not a sign of overreach, and far cheaper than discovering the problem after a collapse.
Warning Signs to Watch Between Inspections
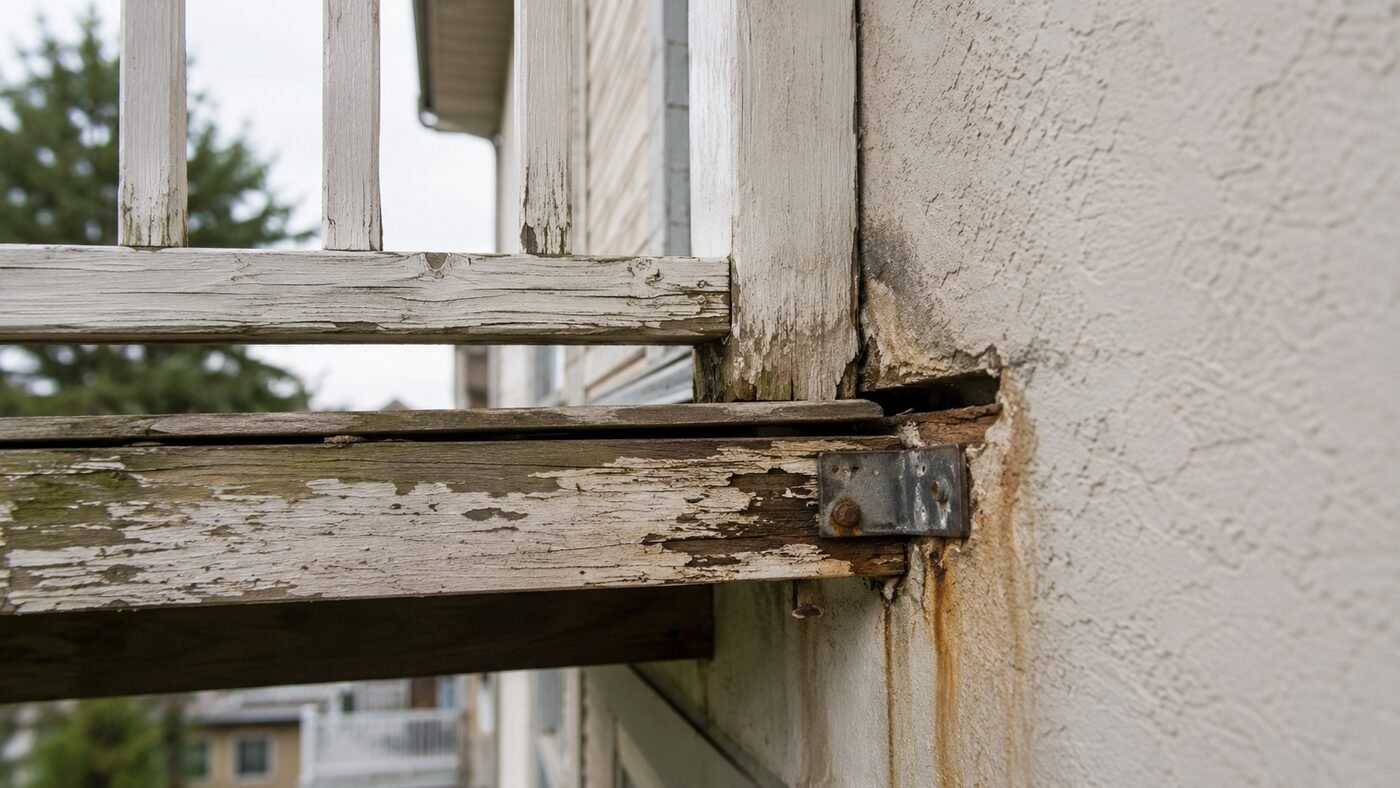
A formal balcony structural inspection happens on a fixed cycle, but decay keeps its own schedule. Owners and managers who run their own quick check between each apartment balcony inspection catch far more than those who wait for the mandatory date. None of the following guarantees a failure, but several appearing together is a solid reason to call a professional sooner rather than later.
- Soft or bouncy decking underfoot, pointing to weakened framing below.
- Persistent dampness or a musty smell, a hallmark of concealed decay.
- Rust streaks running from bolts, brackets, or connectors.
- Peeling paint or lifting coatings, where moisture is escaping from underneath.
- Widening gaps where the balcony meets the building wall.
- Wood dust or frass near joints, a subtle clue for any balcony dry rot inspection that something is eating or rotting the timber.
Sacramento’s climate sharpens all of this. Long, hot summers bake and crack waterproof coatings, and the wet winters that follow drive moisture straight into any opening left behind. A balcony that coasted through five dry years can decline fast after one hard rainy season, which is why a look before and after the wet months pays for itself.
What Happens After the Inspection
Once the assessment wraps up, the inspector issues a balcony inspection report documenting the condition of every element examined, the sampling method, and any deficiencies found, backed by photographs that set a baseline for the future. An SB 721 balcony inspection report must reach the owner within 45 days, and owners are required to keep it for two full inspection cycles. Insurers increasingly ask to see it at renewal.
From there, the findings sort themselves onto one of two tracks, and knowing which one you are on sets every deadline that follows.
- A clean or minor-findings report. Nothing dangerous turned up. You file the report, calendar the next cycle, and address any small maintenance items on your own schedule.
- Non-emergency deficiencies. Repairs are needed but nothing is an immediate hazard. The usual window is 120 days to pull a permit and another 120 to complete the work, with extensions available for good cause.
- An immediate safety threat. Here the clock compresses sharply — the owner must be notified, access to the element may have to be restricted on the spot, and the local code enforcement agency must be alerted within 15 days.
Most reports land on the first two tracks. The third is rare, but it is exactly the scenario the whole law was written to prevent, which is why inspectors treat any sign of it with urgency.
The Cost of Ignoring the Findings
It is worth being plain about consequences, without any drama. Once repairs are required and left undone, the exposure adds up in several directions at the same time.
Civil penalties for unresolved defects run from $100 to $500 per day. A building safety lien can attach to the property, complicating any sale or refinance. Insurance carriers grow wary of buildings with open safety violations and may raise premiums or decline to renew. And should someone be hurt by a balcony that was never brought into compliance, an overdue inspection becomes a powerful piece of evidence in a negligence claim. None of this is meant to alarm — it is simply the practical arithmetic of putting a known problem off, and every part of it is avoidable by acting on the report.
An Inspection Is a Diagnosis, Not a Repair
One point trips up many first-time owners. Under SB 721, the party performing the exterior elevated element inspection cannot also carry out the corrective work identified in its own report. The inspection is a diagnosis; the repair is a separate step. That separation protects owners from inflated repair scopes and keeps the assessment honest.
In practice, that makes the report itself the valuable deliverable. A clean, well-documented inspection tells you exactly which elements need attention, which are simply worth monitoring, and which are sound — so any repairs that follow are planned from facts rather than guesswork, and bid competitively rather than bundled into the inspection.
Turning Compliance Into Confidence
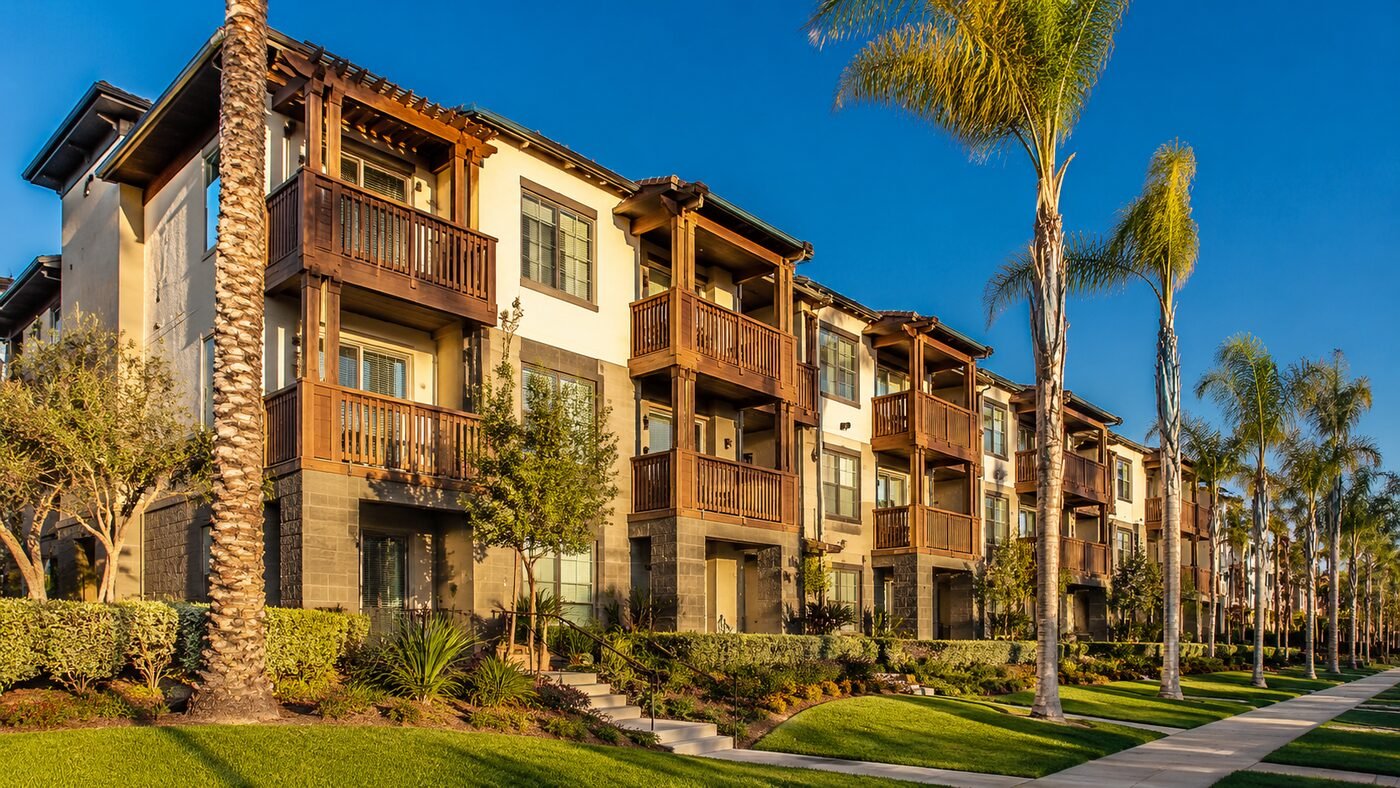
For most owners, the real payoff of a disciplined balcony inspection checklist is not the certificate on file. It is knowing that the families standing on those balconies are safe, and that a hidden defect will not resurface someday as a lawsuit or a tragedy. Used between each formal, mandated residential balcony inspection, a simple checklist keeps small issues small and turns compliance from a deadline into ordinary good management.
If you are unsure where your building stands, the steady move is to schedule a professional assessment now rather than after a notice arrives. Whether you fall under SB 721 for a rental, SB 326 for a condo, or SF Section 604 in San Francisco, the goal never changes: see what the eye cannot, document it clearly, and act while the fix is still simple.