If you have never been through an SB 721 inspection, the process can feel opaque. Here is what a professional inspection actually involves, from the first phone call to the final report, so you know exactly what to expect on inspection day.
1. Planning and document review
The inspector begins by reviewing available building plans and identifying every exterior elevated element on the property. From these, a representative sample is selected — the law requires enough coverage to be statistically meaningful, so the results fairly represent the entire building rather than a lucky handful of units.
2. On-site assessment
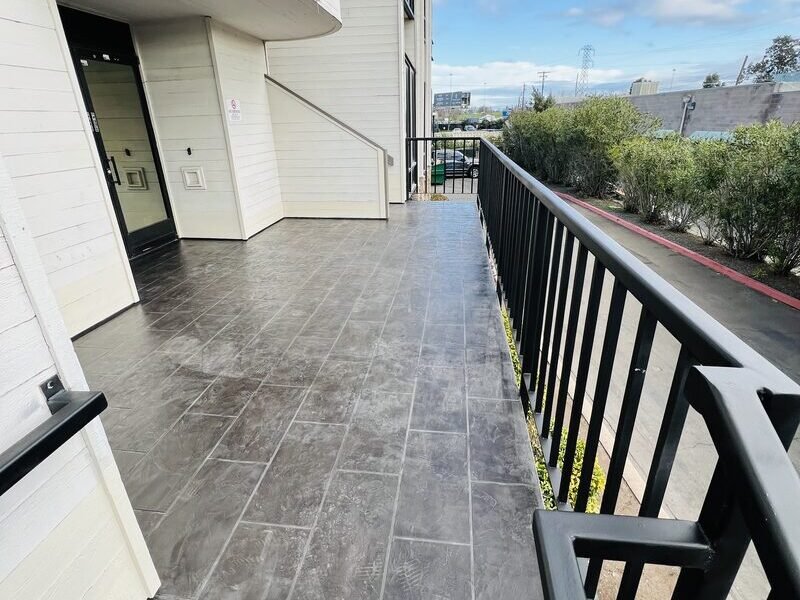
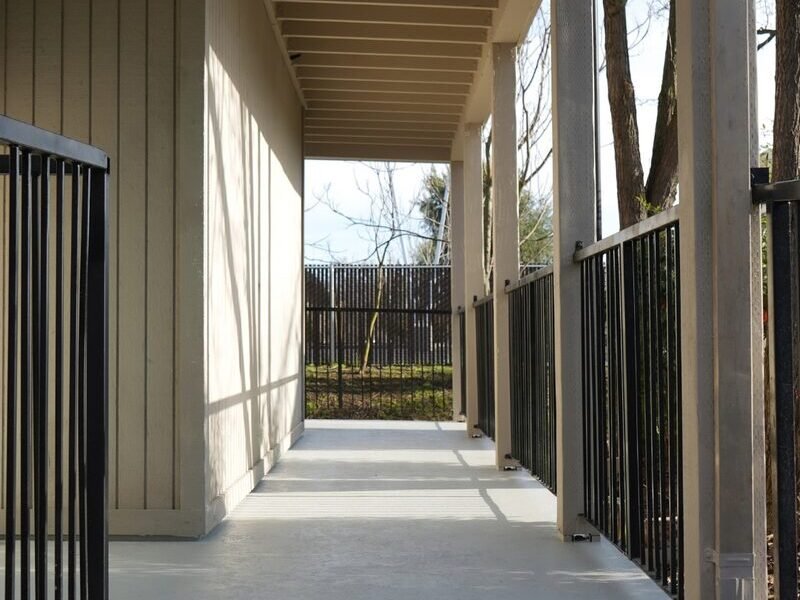
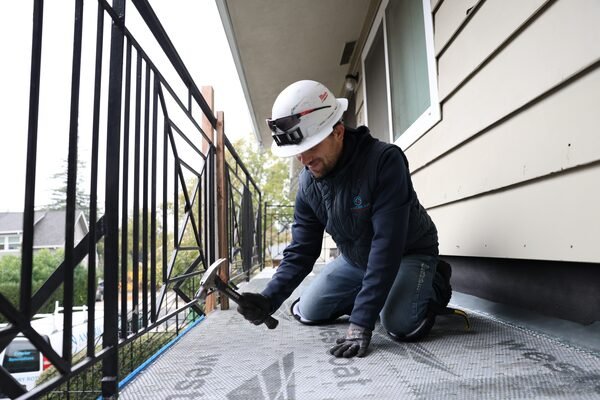
On site, the inspector visually assesses the load-bearing components and the waterproofing of each sampled element. They look at framing, connections, fasteners, coatings and drainage. Where a visual inspection is inconclusive, moisture readings or limited exploratory openings may be used to confirm the condition of concealed framing without unnecessary demolition.
3. Documentation and reporting
Finally, the inspector documents everything in a written report: what was examined, the condition found, and whether repairs are required. Good reports are photo-documented and written in plain language a property manager or board can act on.
- What was inspected and how the sample was chosen
- The condition of each element, with photos
- Any items that require repair, and their urgency
- The date the next six-year cycle begins
After the inspection
That report is your compliance record — keep it somewhere safe and easy to find. If repairs are required, address the urgent items first and plan the rest. Working with a team that can both inspect and carry out repairs keeps the process moving and avoids finger-pointing between separate contractors.